
Safety Precautions and Guidelines
Always wear safety goggles and keep loose clothing tied back. Ensure the saw is properly grounded and blades are sharp. Never operate the saw without proper blade guards. Keep children and pets away from the work area. Disconnect the power cord before making adjustments or changing blades. Follow all safety instructions in the manual to avoid kickback and ensure safe operation.
1.1 Essential Safety Rules
Always wear safety goggles and gloves when operating the saw. Ensure the work area is clear of debris and well-lit. Keep loose clothing and long hair tied back. Never operate the saw while tired or under the influence of drugs or alcohol. Ensure all blade guards are in place and functioning properly. Avoid wearing jewelry that could get caught in moving parts. Keep children and bystanders away from the work area. Always follow the manufacturer’s instructions and safety guidelines to prevent accidents and ensure safe operation.
1.2 Understanding Safety Labels
Read and understand all safety labels on the saw before use. These labels provide critical information to prevent accidents and ensure proper operation. They highlight potential hazards, such as sharp blades and moving parts, and offer guidance on safe practices. Familiarize yourself with warning symbols and instructions to avoid misuse. Always follow the precautions outlined on the labels to maintain a safe working environment. Proper adherence to these guidelines will help prevent injuries and ensure the longevity of your radial arm saw. Always refer to the manual for additional safety details.
1.3 Emergency Procedures
In case of an emergency, immediately turn off the power and disconnect the radial arm saw from the power source. If a blade binds or kicks back, do not attempt to remove the workpiece while the saw is running. Evacuate the area if there is a fire or electrical malfunction. Contact a professional or customer support for assistance. Always refer to the manual for specific emergency procedures. Proper training and preparation are essential to handle unexpected situations safely and effectively. Keep a fire extinguisher nearby and ensure good ventilation in the workspace.

Understanding the Craftsman Radial Arm Saw
The Craftsman radial arm saw is a versatile power tool designed for precise crosscuts and ripping. Its tilting arbor allows for angled cuts, enhancing woodworking projects. Proper setup and alignment ensure optimal performance and safety.
2.1 Overview of the Radial Arm Saw
The Craftsman radial arm saw is a powerful tool designed for woodworking, offering versatility in crosscutting, ripping, and angled cuts. Models like the 113.197250 and 315.22038 feature a tilting arbor for precise angled cuts. Equipped with a robust motor, these saws provide consistent performance for various projects. The radial arm design allows for smooth operation, enabling users to make accurate cuts with ease. Proper setup, as detailed in the manual, ensures optimal performance and safety. Always refer to the manual for specific model features and operational guidelines to maximize efficiency.
2.2 Key Components and Features
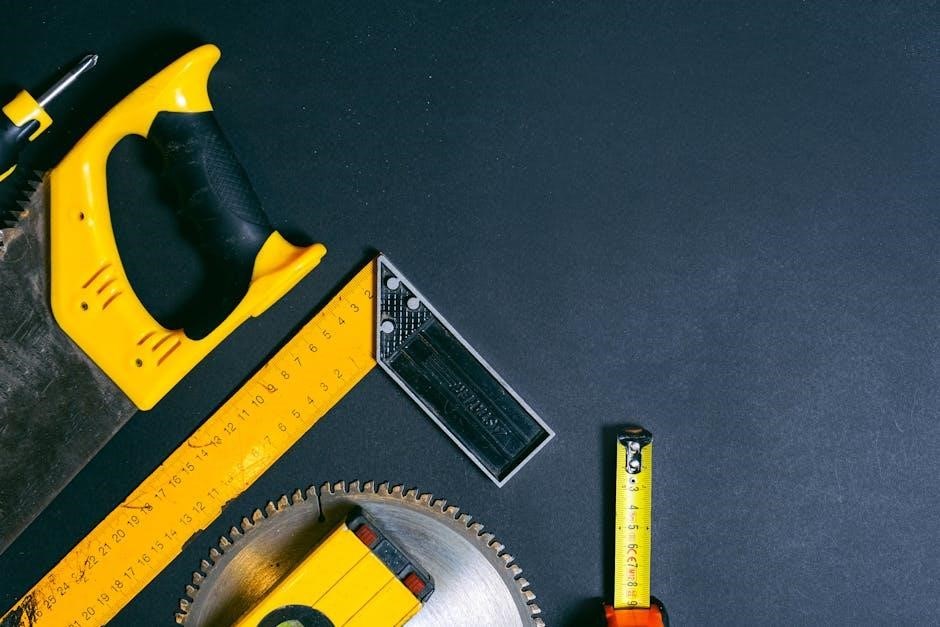
The Craftsman radial arm saw features a robust motor, a tilting arbor for angled cuts, and a sliding carriage for smooth operation. The radial arm itself allows for crosscutting and ripping with precision. Key components include the miter lock, bevel adjustment, and blade guard for safety. Some models offer a mechanical brake for quick blade stopping. Additional features like dust collection ports and adjustable fences enhance workflow. These components ensure versatility and accuracy, making it suitable for various woodworking tasks. Always refer to the manual for specific model details and feature configurations.
2.3 Differences from Other Saw Types
The Craftsman radial arm saw stands out for its ability to handle both crosscuts and rip cuts efficiently, unlike circular saws or miter saws. Its sliding radial arm allows for precise, consistent cuts across long workpieces, a feature not found in table saws. The saw also excels at making angled cuts with ease, thanks to its tilting arbor. Unlike band saws, it is designed for straight cuts and offers superior accuracy for woodworking projects. Its versatility and range of adjustments make it a preferred choice for professional and hobbyist woodworkers alike.
Assembly and Installation
Begin by unpacking and inventorying all components. Mount the saw on a sturdy workbench or table, ensuring it is level and secure. Follow manual instructions for aligning the blade and attaching any additional accessories. Tighten all bolts and ensure stability before use. Always refer to the manual for specific assembly steps and safety guidelines. Proper installation is crucial for accurate cuts and safe operation.
3.1 Unpacking and Inventory
Carefully unpack the radial arm saw and all accessories from the shipping carton. Inspect for damage and verify all parts against the provided inventory list. Components typically include the saw unit, steel legs, mounting hardware, and instructional manual. Ensure no items are missing or damaged. If discrepancies are found, contact the supplier immediately. Organize parts in a clean, dry workspace to facilitate efficient assembly. Always follow the manual’s guidelines for unpacking to prevent damage and ensure proper installation. This step is crucial for a smooth setup process.
3.2 Mounting the Saw on a Workbench
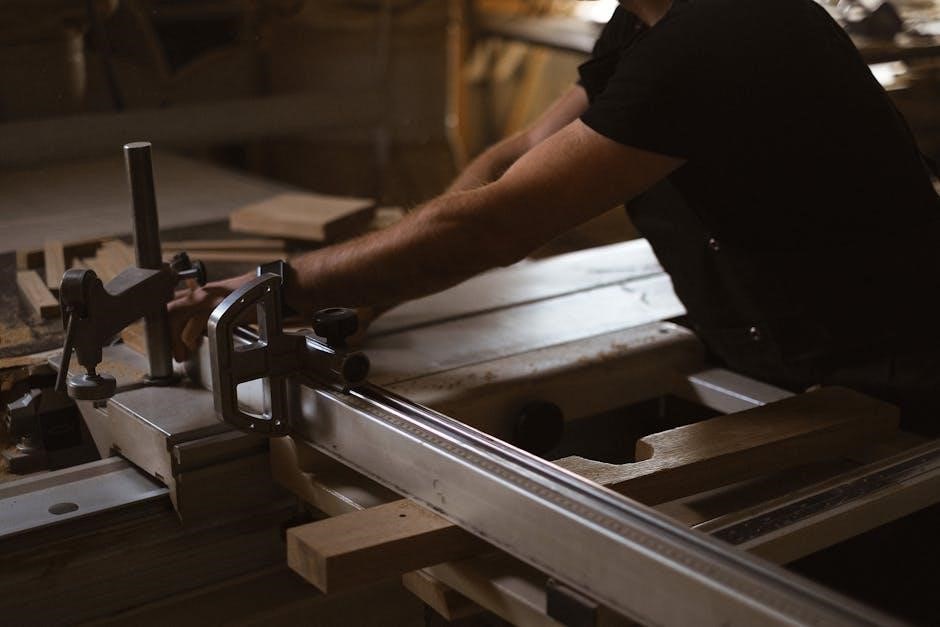
Mount the radial arm saw on a sturdy workbench or base to ensure stability during operation. Use the provided hardware to secure the saw firmly to the work surface. Ensure the workbench is level and robust enough to support the saw’s weight. For added stability, install the saw on a Craftsman Power Tool Base or a flat, reinforced surface. Tighten all mounting bolts evenly to prevent vibration and ensure accurate cuts. Double-check the alignment of the saw blade with the workbench before final tightening for optimal performance and safety. Proper mounting is essential for precise cutting and smooth operation;
3.3 Aligning the Saw Blade
Properly align the saw blade to ensure accurate cuts and prevent vibration. Adjust the radial arm to align the blade perpendicular to the work surface. Use a combination square or alignment tool to check and set the blade’s position. Tighten the alignment screws firmly after adjustments. Ensure the blade is parallel to the fence for straight cuts. If using a miter feature, align the blade with the desired angle before locking it in place. Misalignment can lead to uneven cuts and potential safety hazards, so double-check before operation. Always refer to the manual for specific alignment procedures.

Operating the Radial Arm Saw
Ensure proper workpiece support and alignment before cutting. Use jigs or fixtures for accurate results. Maintain steady control and feed material smoothly. Always follow manual guidelines.
4.1 Crosscutting Techniques
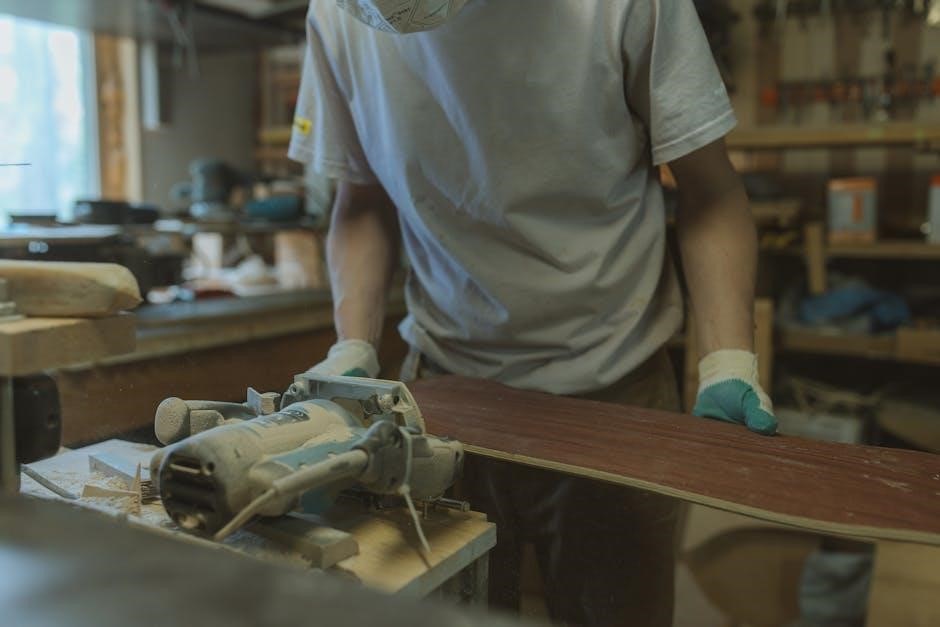
For precise crosscuts, ensure the blade is aligned perpendicular to the workpiece. Use the miter gauge or crosscut sled for accurate cuts. Always maintain steady control and feed the material smoothly; Proper workpiece support is crucial to prevent kickback. Align the saw blade with the desired cut line and lock all adjustments before cutting. Refer to the manual for specific crosscutting setups and techniques. Ensure the saw is properly lubricated and blades are sharp for optimal performance. Always follow safety guidelines and use recommended accessories for precise results.
4.2 Ripping Procedures
When ripping, align the fence parallel to the blade for straight cuts. Use the rip lock to secure the saw arm, ensuring consistent material feeding. Maintain steady control and avoid applying excessive pressure, which can cause kickback. Always use proper workpiece support and ensure the blade is sharp. Refer to the manual for specific ripping techniques and safety precautions. Keep loose clothing tied back and ensure the work area is clear. Proper alignment and blade maintenance are key for accurate and safe ripping operations. Follow all safety guidelines for optimal results.
4.3 Making Angled Cuts
To make accurate angled cuts, align the blade with the desired angle using the miter gauge or swivel locks. Set the angle by adjusting the swivel lock and ensure it is securely tightened. Always use a miter gauge for precise control, especially for angles between 0° and 45°. Maintain steady control of the workpiece and feed it smoothly through the blade. Never force the material, as this can lead to kickback. Keep your hands away from the blade path and ensure proper workpiece support for safe and accurate angled cuts. Always follow the manual’s safety guidelines for angled operations.
Maintenance and Lubrication
Regularly lubricate moving parts and check the motor for proper function. Clean the blade and table surface to ensure optimal performance. Refer to the manual for specific lubrication points and maintenance schedules. Avoid over-lubrication, which can attract dust and reduce efficiency. Always unplug the saw before performing maintenance tasks.
Proper lubrication ensures smooth operation of the radial arm saw. Apply oil to the radial arm cap and carriage assembly monthly. Avoid lubricating between the radial arm cap and arm. Use high-quality machine oil or silicone-based spray for best results. Keep the blade and table free from debris to prevent friction. Lubricate after cleaning or when unusual wear is noticed. Always unplug the saw before lubricating any parts. Refer to the manual for specific lubrication points and recommended products. Regular maintenance extends the saw’s lifespan and maintains performance. Regularly inspect the saw blade for dullness, damage, or rust. A dull blade can cause kickback and uneven cuts. Clean the blade with a wire brush to remove debris. Replace the blade when it shows excessive wear or damage. Use only high-quality, Craftsman-recommended blades. To replace, unplug the saw, remove the arbor nut, and carefully take out the old blade. Install the new blade, ensuring it’s securely fastened. Proper blade maintenance ensures accurate cuts and prolongs the saw’s efficiency. Always follow the manual’s specific blade replacement instructions. Regularly check and adjust the radial arm alignment to ensure accurate cuts. Lubricate moving parts, except between the radial arm cap and arm, to maintain smooth operation. Tighten all bolts and fasteners periodically, as vibrations may loosen them. Inspect the blade guard and ensure it functions correctly. Adjust the fence and miter settings for proper alignment. Clean dust and debris from the saw table and motor. Follow the manual’s maintenance schedule to prevent wear and tear. Proper adjustments ensure optimal performance, safety, and longevity of your Craftsman radial arm saw. Always refer to the manual for specific adjustment procedures. Address kickback by ensuring proper blade alignment and workpiece support. Check for blade damage or misalignment if cuts are uneven. If the motor overheats, inspect for dust buildup or improper blade use. Adjust the saw’s fences and miter locks if cuts are inaccurate. Refer to the manual for specific solutions to maintain performance and safety. Regularly inspect and tighten loose parts to prevent vibration-related issues. Kickback occurs when the workpiece is improperly fed, causing the blade to bind. To address this, ensure the material is supported firmly and guided correctly. Always use a push stick or other safety devices to maintain control. Check for dull or damaged blades, as they increase kickback risk. If kickback happens, turn off the saw immediately and inspect the setup. Proper alignment of the blade and fence is crucial to prevent this hazard. Always follow the manual’s safety guidelines for safe operation. Regular maintenance also helps reduce kickback incidents. Blade alignment issues can cause uneven cuts and safety hazards; To correct this, loosen the locking screws and adjust the radial arm until the blade aligns with the fence. Use a combination square to ensure accuracy. Tighten the screws firmly after adjustment; If misalignment persists, check for worn or damaged parts and replace them as needed. Regularly inspect the blade and fence for proper alignment to maintain cutting accuracy and safety. Always refer to the manual for specific adjustment procedures to avoid further complications. If the motor stalls or overheats, immediately disconnect the power and let it cool. Check for blockages or excessive dust buildup. Ensure proper ventilation and avoid overloading the saw. If the issue persists, inspect the power cord and connections for damage. Consult the manual for troubleshooting guides or contact customer support for assistance. Regular maintenance, such as lubricating moving parts, can prevent motor issues. Always follow safety precautions when diagnosing or repairing motor-related problems to avoid further damage or injury. Essential accessories include jigs, fixtures, and replacement blades to enhance functionality. Use only compatible attachments for accurate cuts and safety. Always ensure proper fit and durability. For optimal performance, use Craftsman-approved accessories like jigs, fixtures, and high-quality saw blades. These enhance precision and safety. A dust collection system reduces debris, improving visibility. Consider a rip fence for straight cuts and a miter gauge for angled precision. Replacement blades ensure consistent cutting performance. Always check compatibility with your model, such as 315.22038, to maintain safety and functionality. Properly fitted accessories prevent hazards and ensure accurate results. Consult the manual for specific recommendations tailored to your saw; To install additional features on your Craftsman radial arm saw, ensure the power is off and the cord is disconnected. Follow the manual’s specific instructions for each accessory. For example, attaching a rip fence requires aligning it with the saw table and securing it firmly. When adding a miter gauge, ensure it fits snugly in the table slot. Always use the correct hardware provided with the accessory. After installation, test the feature to ensure proper function and safety. Refer to the manual for diagrams and torque specifications to avoid errors. Proper installation enhances both performance and safety. Jigs and fixtures are essential for precise cuts and enhanced safety on your Craftsman radial arm saw. A jig is a custom-made device that holds the workpiece in place, ensuring accurate cuts. Fixtures, on the other hand, are pre-made tools that stabilize materials during cutting. Always clamp jigs securely to the saw table and ensure they do not interfere with the blade. For angled cuts, use a miter jig to guide the workpiece. Before cutting, test the jig or fixture with scrap wood to ensure proper alignment. Refer to the manual for specific recommendations on using these accessories safely and effectively. Proper use of jigs and fixtures improves precision and reduces the risk of accidents. Your Craftsman radial arm saw is backed by a one-year limited warranty covering defects in materials and workmanship. For support, visit Sears Parts Direct or contact customer service. The Craftsman radial arm saw warranty covers defects in materials and workmanship for one year from the purchase date. This warranty applies to original purchasers only and requires proof of purchase. It does not cover damage from misuse, normal wear, or improper maintenance. For warranty claims, contact Sears Customer Service or visit their website. Replacement parts and repairs are provided at no cost during the warranty period. Always refer to the manual for specific warranty details and exclusions. Properly register your product to ensure warranty validity. For assistance with your Craftsman radial arm saw, visit the Sears Parts Direct website or contact their customer service team. You can also reach out through the Sears website by navigating to the customer support section. Ensure you have your model number (e.g., 113.23100) ready for faster service. Representatives are available to help with parts, repairs, and warranty-related inquiries. Always have your purchase details and serial number on hand for efficient support. This ensures prompt resolution to any issues or concerns you may have. Visit the Craftsman website for downloadable PDF manuals and guides specific to your radial arm saw model. The Sears Parts Direct portal offers detailed parts diagrams and repair instructions. Additional resources, such as troubleshooting guides and video tutorials, are available on the Craftsman support page. Ensure you enter the correct model number (e.g., 113.23100) to access accurate information. Online forums and communities also provide valuable insights and tips from experienced users. Utilize these resources to maximize your saw’s performance and resolve any operational issues effectively.5.1 Lubrication Requirements
5.2 Blade Maintenance and Replacement
5.3 Periodic Adjustments
Troubleshooting Common Issues
6.1 Addressing Kickback
6.2 Solving Blade Alignment Problems
6.3 Dealing with Motor Issues
Accessories and Attachments
7.1 Recommended Accessories
7.2 Installing Additional Features
7.3 Using Jigs and Fixtures

Warranty and Support Information
8.1 Understanding the Warranty
8.2 Contacting Customer Support
8.3 Accessing Online Resources