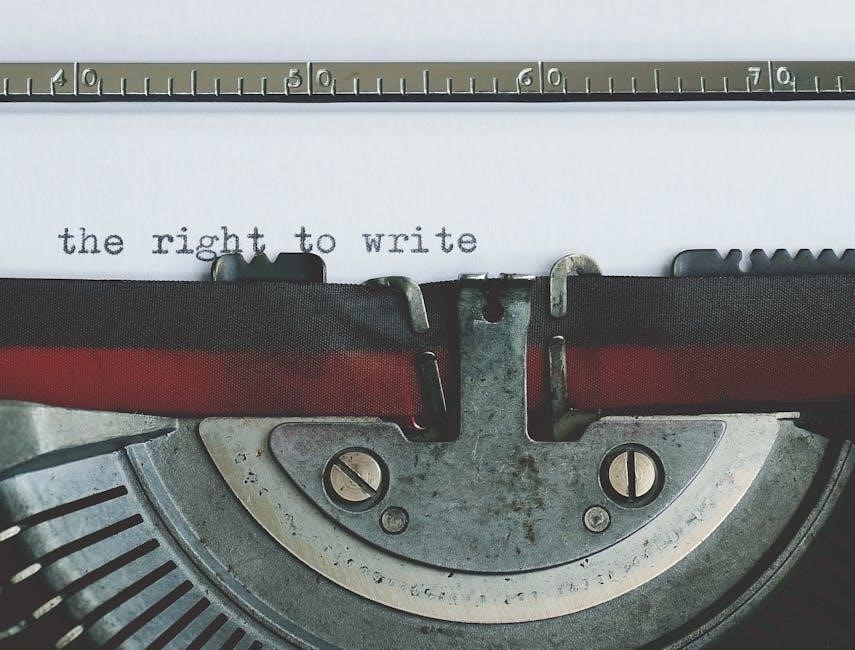
Understanding care wash instructions is essential for maintaining your garments’ quality and longevity. These labels provide guidance on washing, drying, and ironing, ensuring fabrics are treated properly to prevent damage and extend lifespan.
Understanding Laundry Symbols
Laundry symbols guide proper washing, drying, and ironing techniques. They indicate ideal temperatures, bleach usage, and fabric-specific care to prevent damage and maintain garment quality effectively.
Common Laundry Symbols and Their Meanings
Laundry symbols are universal icons that guide garment care. The tub icon indicates washing instructions, with dots showing water temperature. A circle in a square signifies dry cleaning, while a crossed tub means “do not wash.” The iron symbol denotes ironing suitability, with dots representing temperature settings. A triangle stands for bleaching, with variations indicating chlorine or non-chlorine use. Lines below the tub suggest gentle or delicate cycles, while hand wash symbols indicate items requiring manual care. Understanding these symbols ensures proper garment handling, prevents damage, and maintains fabric quality. They are designed to be simple yet informative, making garment care accessible for everyone.
The Importance of Following Laundry Symbols
Following laundry symbols is crucial for maintaining the quality and longevity of your garments. These symbols provide specific instructions tailored to the fabric type, ensuring clothes are washed, dried, and ironed correctly. Ignoring them can lead to shrinkage, color fading, or irreversible damage. By adhering to the guidelines, you preserve the texture, shape, and appearance of fabrics. Symbols also prevent accidental damage, such as using bleach on non-bleachable materials or ironing delicate fabrics at high temperatures. Proper care extends the life of your clothes, saving money and reducing waste. These universal icons are designed to be easy to understand, making them accessible for everyone. Taking the time to follow laundry symbols ensures your garments remain in great condition for years to come.
Consequences of Ignoring Laundry Symbols
Ignoring laundry symbols can lead to irreversible damage to your garments, such as shrinkage, color fading, or fabric tears. Washing delicate items in harsh cycles or using high heat on sensitive materials can ruin their texture and shape. Bleach used incorrectly can discolor or weaken fabrics, while ironing at the wrong temperature can scorch or melt certain materials. These mistakes can significantly shorten the lifespan of your clothes, leading to costly replacements. Additionally, improper care can cause environmental harm by increasing textile waste. Neglecting these symbols often results in frustration and financial loss. It’s essential to pay attention to these guidelines to avoid such outcomes and ensure your clothes remain in pristine condition. Proper care not only preserves your wardrobe but also reduces unnecessary waste.
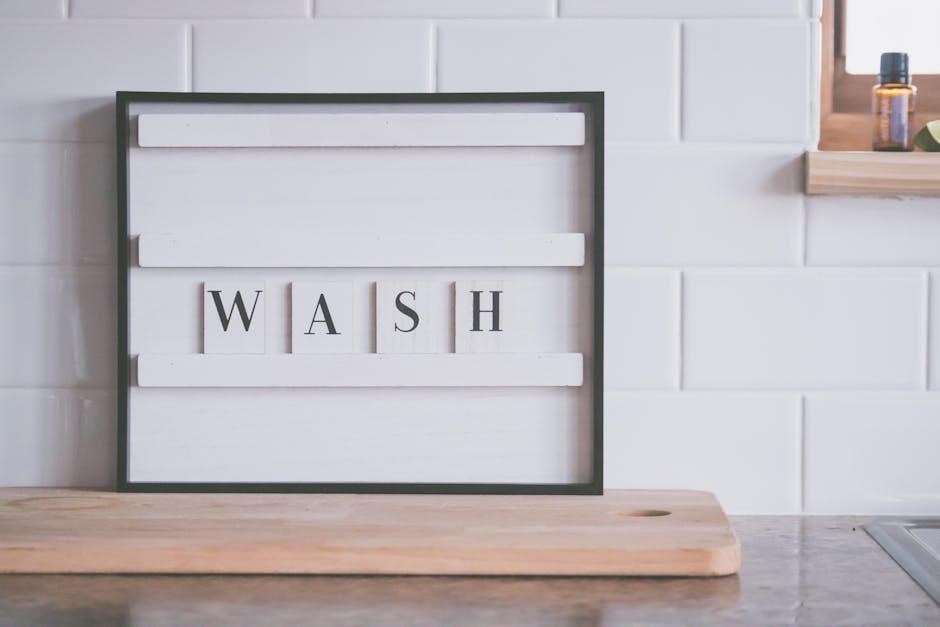
Washing Instructions
Washing instructions guide how to clean garments safely. Symbols indicate machine or hand washing, water temperature, and bleach usage. Always check labels to avoid damaging fabrics and ensure optimal cleaning results. Proper techniques preserve clothing quality and extend longevity, while incorrect methods can cause irreversible harm. Following instructions helps maintain texture, color, and shape, ensuring your clothes remain in great condition. Understanding these guidelines is crucial for effective laundry care and preventing potential damage. By adhering to washing instructions, you can enjoy your garments for years to come while minimizing wear and tear. This section provides clear advice on washing methods to help you make informed decisions for every fabric type.
Machine Washing: Dos and Don’ts
Machine washing is a convenient way to clean clothes, but it requires attention to detail. Always check the care label for symbols indicating machine washing compatibility. Use the correct cycle based on fabric type—delicate, normal, or heavy-duty. Choose the appropriate water temperature, as high heat can shrink or damage certain materials. Separate clothes by color to prevent dye bleeding. Avoid overloading the machine, as this can cause wear and tear. Use a detergent suitable for the fabric and washing machine type. Never machine wash items labeled “hand wash only” or “dry clean only.” Before washing, check pockets for loose items and close zippers to prevent damage. For tough stains, pre-treat them before machine washing. Avoid using fabric softeners on fabrics like towels or activewear, as they reduce absorbency. By following these guidelines, you can ensure your clothes are cleaned effectively while maintaining their quality and longevity.
Hand Washing: Techniques and Tips
Hand washing is the best method for cleaning delicate or sensitive fabrics. Start by checking the care label to ensure hand washing is recommended. Fill a basin with cold water and add a small amount of mild detergent. Gently agitate the water to create suds, then submerge the garment, working from the top down. Avoid scrubbing or wringing, as this can damage fibers. Instead, gently swish the fabric around for about 10 minutes. Rinse thoroughly under cold running water to remove all soap residue. Do not soak garments for extended periods, as this can weaken fabrics. Once clean, lay the item flat on a towel to air dry, reshaping it to maintain its original form. Avoid twisting or squeezing to prevent stretching or pilling. Hand washing ensures gentle care for delicate items, preserving their quality and longevity.
Special Care for Delicate Fabrics
Delicate fabrics, such as silk, wool, and lingerie, require extra attention to maintain their texture and appearance. Always check the care label for specific instructions, as some fabrics may need hand washing or dry cleaning. For machine washing, use a gentle cycle with cold water and a mild detergent. Place delicate items in a mesh laundry bag to protect them from snagging or damage. Avoid soaking delicate fabrics for extended periods, as this can weaken fibers. Gently reshape items while wet to maintain their original form. Air drying is recommended, as machine drying can shrink or stretch delicate fabrics. For hand washing, use lukewarm water and avoid scrubbing or wringing. Lay flat to dry, away from direct sunlight, to prevent fading or creasing. Proper care ensures delicate fabrics remain soft, intact, and retain their elegance for years.
Drying Instructions
Proper drying methods preserve fabric quality and prevent shrinkage. Machine drying settings vary, while air drying is ideal for delicate items to maintain shape and texture effectively.
Machine Drying: Settings and Precautions
Machine drying requires careful attention to settings to protect fabrics and ensure optimal results; Always check the care label for recommended heat levels and cycle types. Lower heat settings are best for delicate or synthetic fabrics, while higher temperatures are suitable for heavily soiled cotton items. Separate fabrics by thickness and material to prevent damage and promote even drying. Avoid overloading the dryer, as this can cause wrinkling or stretching. Remove clothes as soon as the cycle ends to prevent creasing and reduce ironing time. Clean the lint filter after each use to maintain efficiency and safety. For energy efficiency, consider using moisture-sensing modes that automatically stop the cycle when clothes are dry. Never machine dry items labeled for air drying only, as this can lead to shrinkage or fabric deterioration.
Air Drying: Benefits and Best Practices
Air drying is a gentle and energy-efficient way to preserve the quality of your garments. It prevents shrinkage, color fading, and fabric damage often caused by machine drying. Reshape clothes before drying to maintain their original form. Use a sturdy hanger or a flat drying rack to allow air to circulate evenly. Avoid direct sunlight, as it can bleach colors or weaken fabrics. For delicate items like lingerie or wool, lay them flat on a clean towel to dry. Ensure good airflow in the room to speed up the process. Never hang wet clothes in humid environments, as this can lead to mildew. Gently pat excess moisture with a towel instead of rubbing to prevent wrinkles; By following these practices, you can extend the lifespan of your clothes and keep them looking their best.

Bleaching and Ironing Guidelines
Proper bleaching and ironing techniques preserve fabric integrity. Use bleach symbols to determine safe options. Ironing symbols indicate fabric-specific temperatures. Always test bleach on small areas and iron inside out to avoid damage.
Bleaching Symbols: When and How to Use Bleach
Bleaching symbols guide safe bleach usage. A triangle symbol indicates bleach compatibility; a triangle with diagonal lines means only non-chlorine bleach is allowed. If crossed out, bleaching is prohibited. Always check fabric suitability and test a small area first to avoid damage. Proper bleach use preserves color and fabric integrity, preventing discoloration or weakening. Follow care labels to ensure safe application and maintain garment quality. Avoid using bleach on delicate or woolen fabrics unless explicitly permitted. Understanding these symbols ensures effective stain removal while protecting your clothes from damage. Remember, incorrect bleach use can irreparably harm fabrics, so adherence to guidelines is crucial for optimal results and longevity of your garments. Always prioritize fabric safety and follow recommended practices for bleaching to maintain the quality and appearance of your clothing.
Ironing Symbols: Temperature Settings and Fabric Types
Ironing symbols indicate safe temperature settings for fabrics. A iron symbol with dots (1-3) shows heat levels: 1 dot for delicate fabrics like silk, 2 dots for synthetic fibers, and 3 dots for cotton or linen. A crossed-out iron means no ironing allowed. Always match fabric type with the symbol’s guidance to prevent scorching or damage. For example, wool and silk require lower temperatures, while linen and cotton can withstand higher heat. Using the correct setting preserves fabric integrity and texture. Ignoring ironing symbols can lead to permanent damage or discoloration. Consult your iron’s temperature guide for precise settings. Proper ironing techniques ensure garments retain their quality and appearance. Remember, respecting fabric-specific care extends the life of your clothes and maintains their aesthetic appeal.
Fabric-Specific Care Tips
Caring for different fabrics requires tailored approaches. Cotton and linen can typically be machine washed, while synthetics may need gentler cycles. Wool and silk often require hand washing or specialized care to prevent shrinkage or damage. Always check labels for specific instructions to ensure optimal fabric maintenance and longevity.
Caring for Cotton, Linen, and Synthetic Fabrics
Caring for cotton, linen, and synthetic fabrics requires attention to their unique properties. Cotton and linen are durable and can typically be machine washed in warm water, but separating colors is essential to prevent dye bleeding. For synthetics like polyester or nylon, a gentle cycle with cool water is recommended to avoid wear and tear. Drying cotton and linen can be done in a machine, but remove them while still slightly damp to reduce wrinkles. Synthetics are best air-dried or tumble-dried on a low setting to prevent shrinking or damage. Always check the care label for specific instructions, as some fabrics may require special treatment. Using mild detergents and avoiding fabric softeners for synthetics can help maintain their texture and longevity. Proper care ensures these fabrics remain soft, vibrant, and durable for years to come.
Special Care for Wool, Silk, and Other Delicates
Wool, silk, and other delicate fabrics require extra attention to maintain their softness and texture. Hand washing is often recommended, using cold water and a mild detergent. Gently agitate the water, avoid wringing or twisting, and rinse thoroughly before laying flat to air dry. For machine washing, use a delicate cycle with a mesh laundry bag to protect fabrics; Never machine dry wool or silk, as heat can cause shrinkage or damage. Reshape woolens while damp to maintain their form. Silk can be dried by laying flat or hanging in a well-ventilated area. Store delicates separately to prevent snagging. Always follow the care label, as some fabrics may need dry cleaning. Proper care ensures these luxurious materials remain soft, smooth, and elegant for years to come.
Proper care wash instructions are crucial for maintaining the quality and longevity of your garments. By understanding laundry symbols, following washing, drying, and ironing guidelines, and taking extra precautions with delicate fabrics, you can preserve the appearance and texture of your clothes. Ignoring care labels may lead to damage, shrinkage, or color fading, reducing the lifespan of your wardrobe. Always check the symbols, use appropriate settings, and handle delicate fabrics with care. Remember, gentle handling and adherence to instructions ensure your clothes remain vibrant and intact for years. For optimal results, keep a laundry guide handy to decode symbols and apply the best practices for every fabric type. Taking the time to follow care instructions will keep your garments in great condition and extend their usability.